# 参数说明 - tesing | testcase(合并覆盖当前接口返回的数据-多场景)
# 对比:正常的mock
只支持单一场景。我们配置好了一组数据,配置第二组数据时会将前者覆盖,第三、四。。。也是这时已经无法得知第一组数据是什么了,别人要想回归测试的时就有点艰难了~~
# tesing | testcase 功能
多场景。使用testcase配置好多个场景数据后,由tesing指定某个场景
# 使用场景 - 一个接口有多个场景需要测试,以切换使用不同的数据
当前请求地址:http://localhost:6601/mock-middleware/yapiMockApi/testcase
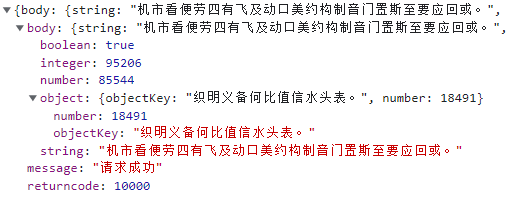
基于yapi生成的mock数据:
本地mock配置:
'POST /mock-middleware/yapiMockApi/testcase': {
  tesing: 'res1',
  testcase: {
    res1: {
      body: {
        string: '多场景数据1',
        number: '多场景数据1',
      },
    },
    res2: {
      body: {
        string: '多场景数据2',
        number: '多场景数据2',
      },
    },
    res3: {
      body: {
        string: '多场景数据3',
        number: '多场景数据3',
      },
    },
  },
}
效果: tesing=res1

效果: tesing=res2

效果: tesing=res3

# 进阶 - 多个场景数据需要是覆盖同一个值,不想每个场景逐个去加
配置response使用
本地mock配置:
'POST /mock-middleware/yapiMockApi/testcase_response': {
  response: {
    body: {
      boolean: 'response统一覆盖',
      integer: 'response统一覆盖',
    },
  },
  tesing: 'res3',
  testcase: {
    res1: {
      body: {
        string: '多场景数据1',
        number: '多场景数据1',
      },
    },
    res2: {
      body: {
        string: '多场景数据2',
        number: '多场景数据2',
      },
    },
    res3: {
      body: {
        string: '多场景数据3',
        number: '多场景数据3',
      },
    },
  },
}
效果: tesing=res1

效果: tesing=res2

效果: tesing=res3

← response